How We Install: An Inside Look at the Santi Hardwood Floors Process

Most homeowners only ever see the finished result — a beautiful, gleaming hardwood floor ready to walk on. What they don’t usually see is everything that happens before that: the measuring, the prep work, the careful board-by-board installation that determines whether a floor lasts five years or fifty.

At Santi Hardwood Floors, we’ve been handling hardwood floor installation and tile work across Durham, Raleigh, Cary, and the surrounding Triangle area since 2011. We’re a family-owned, licensed, and insured company, and every home we work in gets treated like our own. So we wanted to pull back the curtain and walk you through what actually happens during a professional installation — step by step, using photos straight from our own job sites.

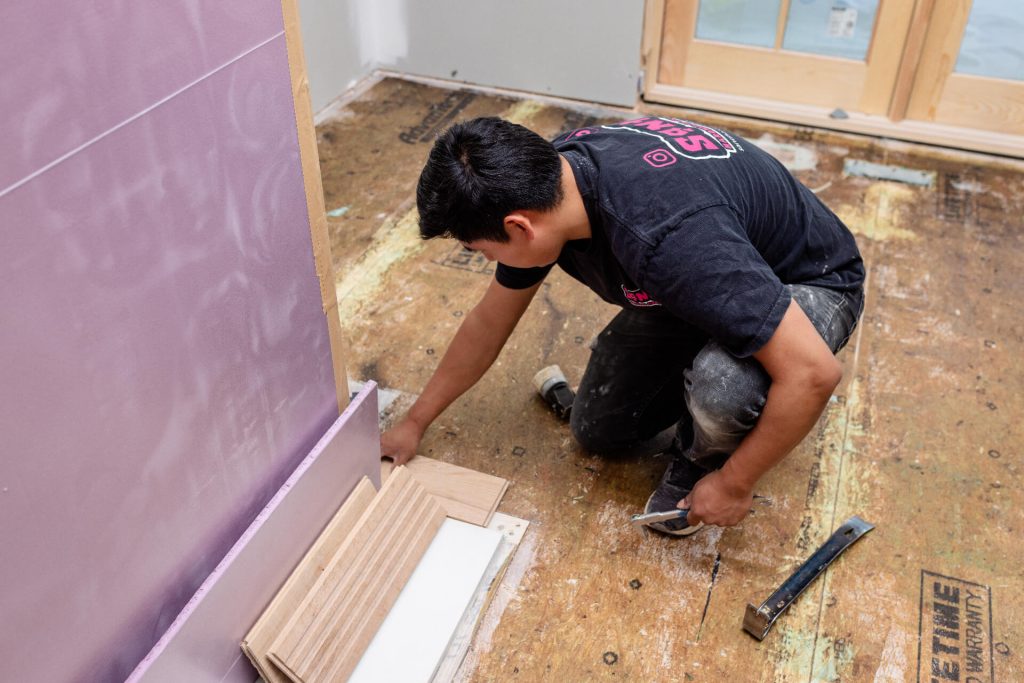
Step 1: Prepping the Foundation

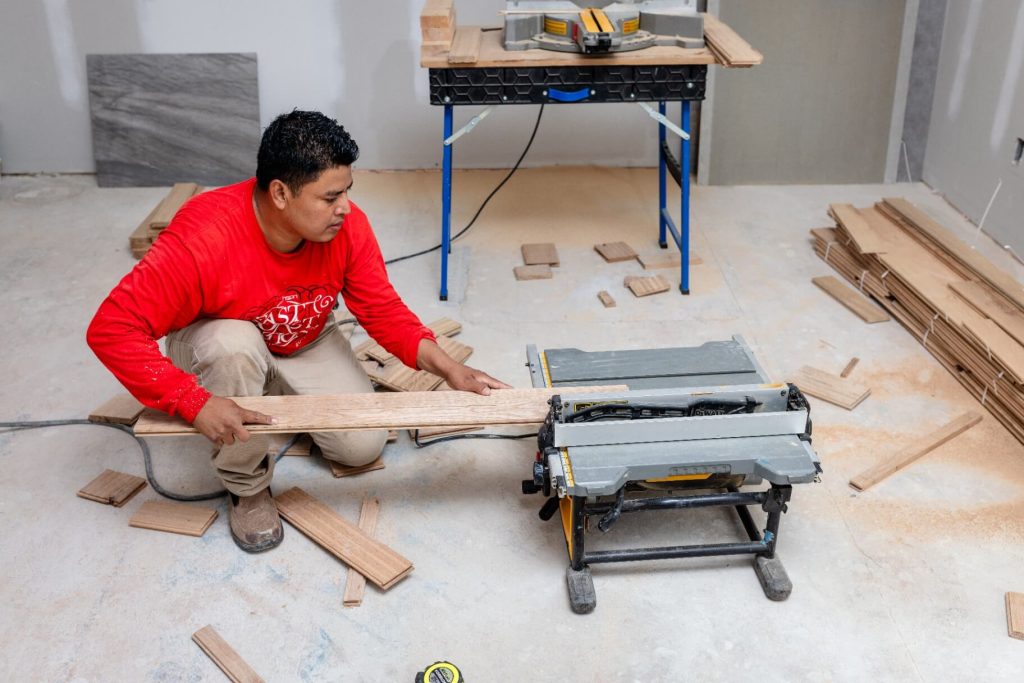
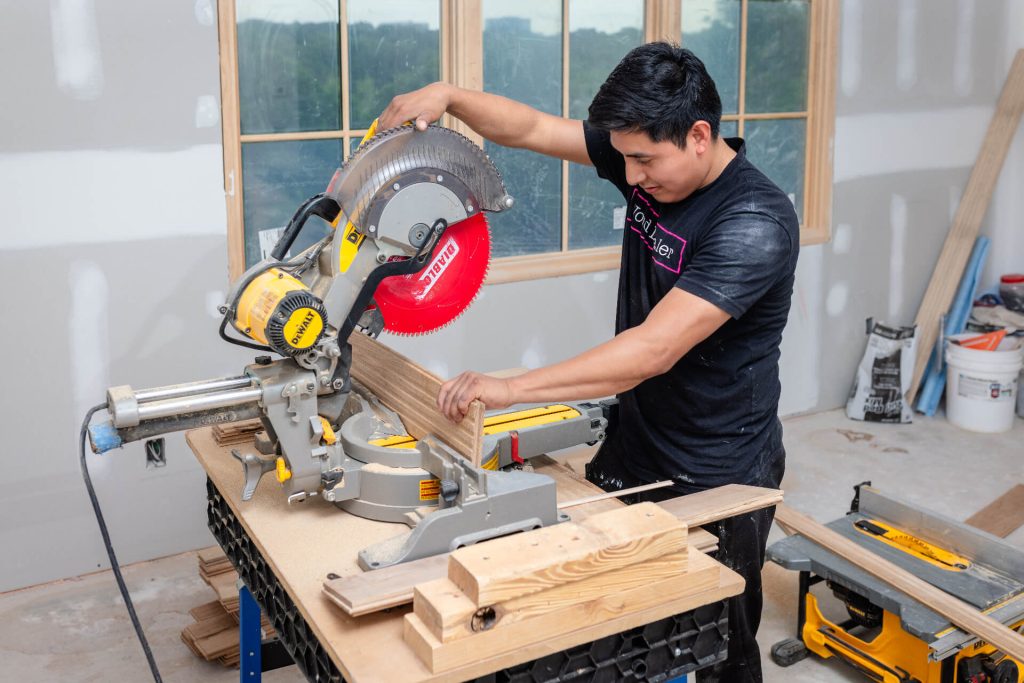
Installer fitting hardwood board during subfloor prep, Durham NC
Santi Hardwood Floors installer preparing board at workbench
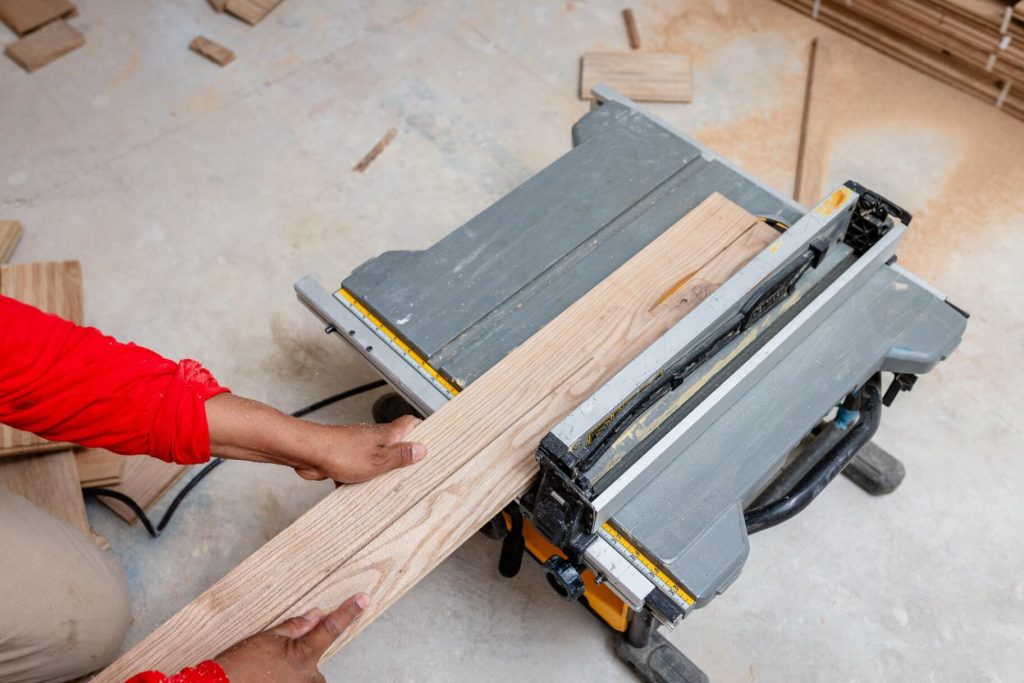
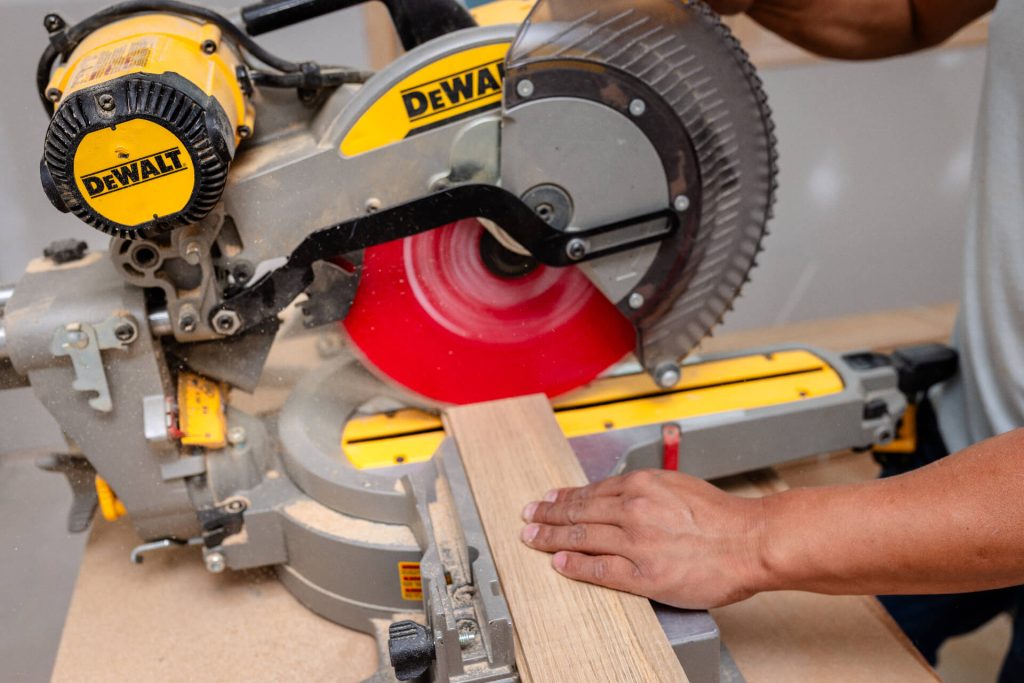
Close-up of hardwood board being prepped for installation
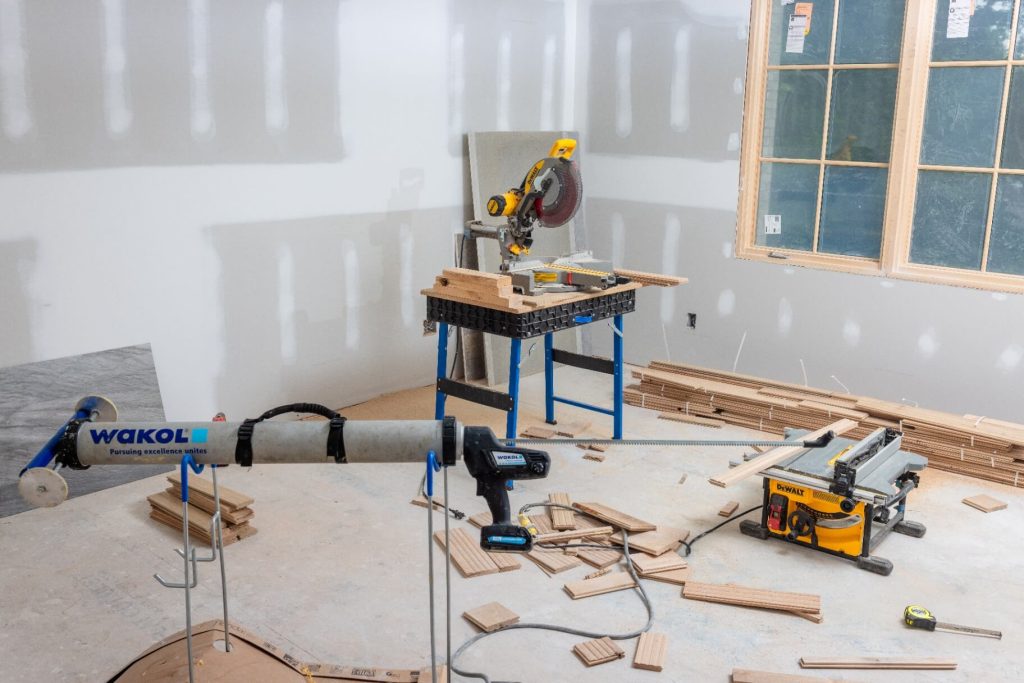
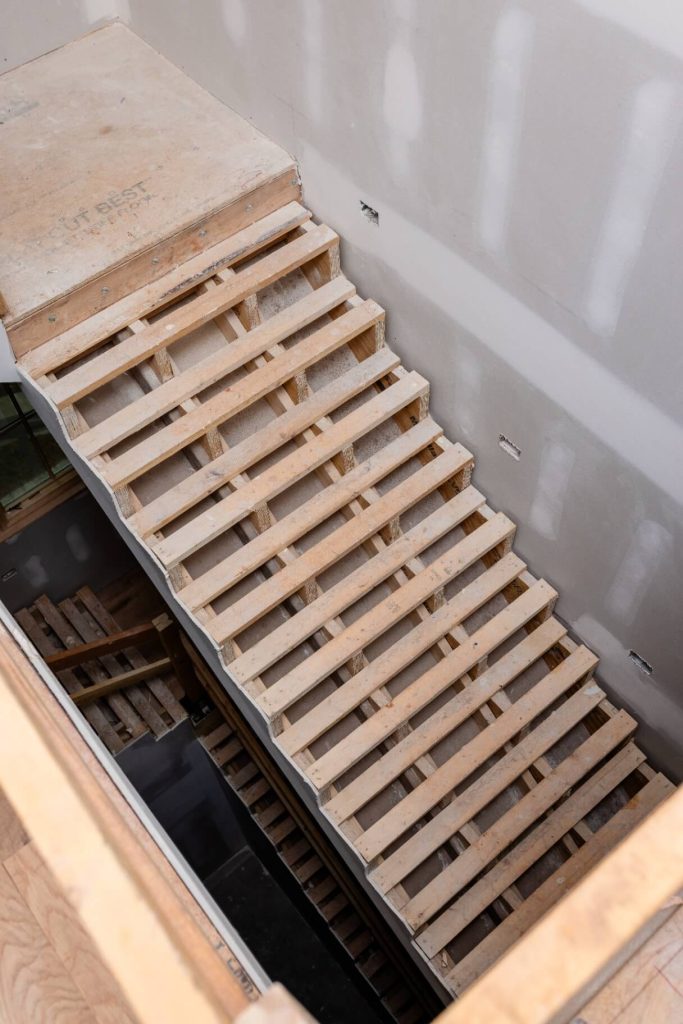
Job site setup before hardwood floor installation in Durham home
Installer cutting hardwood board with miter saw during subfloor prep
Hardwood boards acclimating on job site before installation

Every great floor starts with a great foundation — literally.

Before a single board goes down, the subfloor has to be right. That means clearing the space, checking for moisture issues, making sure the surface is flat and structurally sound, and staging the hardwood itself so it can acclimate to the room’s temperature and humidity. Skipping this step — or rushing it — is one of the most common reasons floors buckle, gap, or squeak years down the road.

Our team inspects every subfloor before installation begins. If we find soft spots, uneven areas, or moisture concerns, we address them first. It’s not the most exciting part of the job, but it’s arguably the most important.

Step 2: Laying the Moisture Barrier

A moisture barrier protects your investment from the ground up.

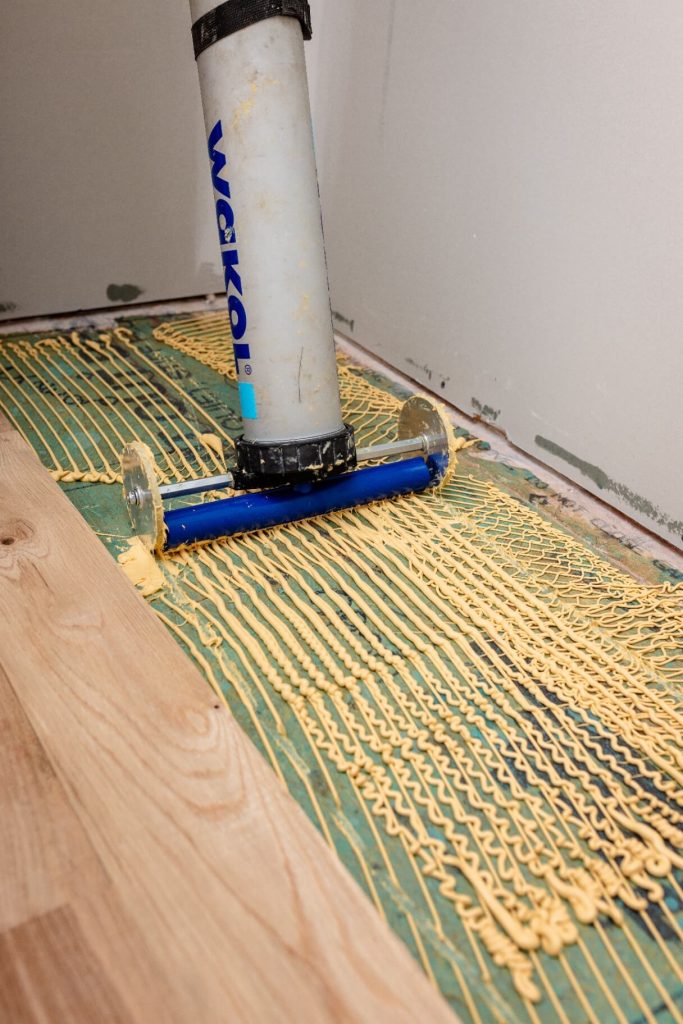
North Carolina’s humidity swings between seasons — hot, sticky summers and drier winters — which means moisture protection isn’t optional here. We roll out a moisture barrier underlayment across the subfloor before any hardwood goes down. This layer helps prevent warping, mold, and moisture damage that can creep up from below, especially in homes with concrete slabs or crawl spaces.

It’s a step some installers skip to save time. We don’t, because it’s one of the biggest factors in how long a floor actually lasts.

Step 3: Precision Cutting

Every board is measured and cut to fit — no shortcuts, no gaps.

Every room has its quirks: doorways, closets, corners that aren’t quite square. Getting a clean, tight fit means measuring twice and cutting once — literally. Our installers use precision miter saws to custom-cut each board so the seams are tight and the pattern lines up the way it should.

This is also where design choices come into play, whether it’s a straight-lay install, a herringbone pattern, or a custom border. The cutting stage is where that vision starts to take shape.

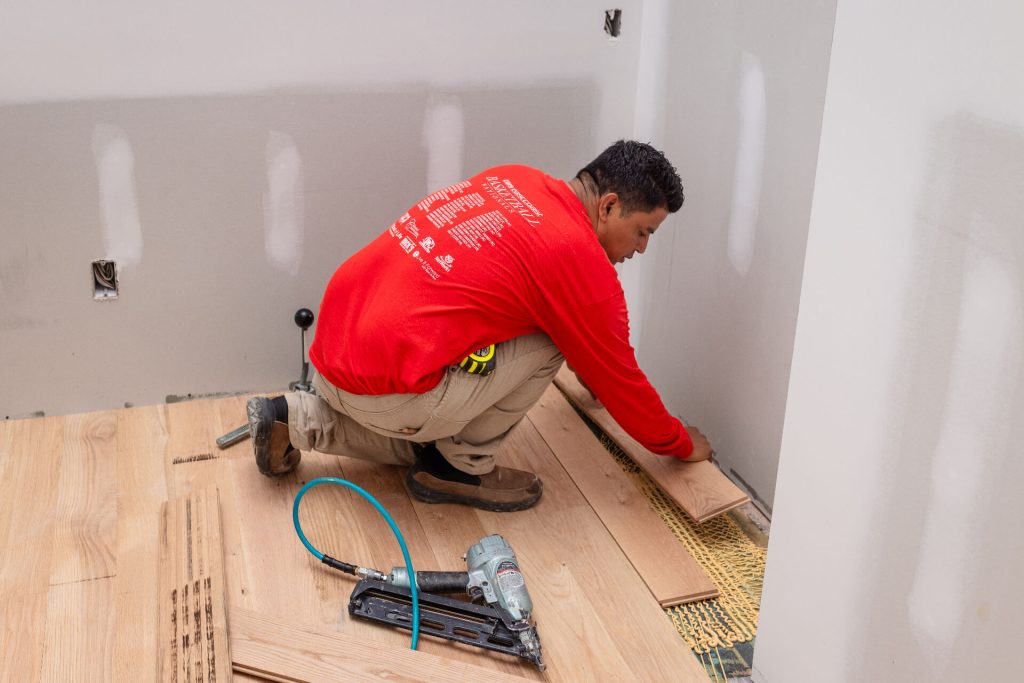
Step 4: Nailing It Down, Board by Board

Board by board, row by row — this is where the floor comes together.

This is the heart of the job: setting each board in place and securing it, row after row, until the room is fully covered. It’s physical, detail-oriented work. Boards need to be tapped snugly into place, nailed at the correct angle and spacing, and checked for consistent alignment as the pattern progresses across the room.

It’s also where experience really shows. A rushed or inexperienced crew can leave behind uneven boards, visible gaps, or squeaky spots. Our installers have years of hands-on experience doing exactly this, in homes across Durham, Raleigh, and Cary.

What Happens Next

Once the hardwood is fully installed, the floor still needs sanding and finishing to bring out its natural grain and protect it for years of daily life — but that’s a process worth its own behind-the-scenes post (stay tuned).

What we can tell you is this: every step matters. Subfloor prep, moisture protection, precise cutting, and careful installation all work together to create a floor that doesn’t just look good on day one — it holds up for decades.

If you’re planning a hardwood installation in Durham, Raleigh, Cary, or anywhere in the Triangle, we’d love to walk you through what that process looks like for your specific home.

Scroll to Top